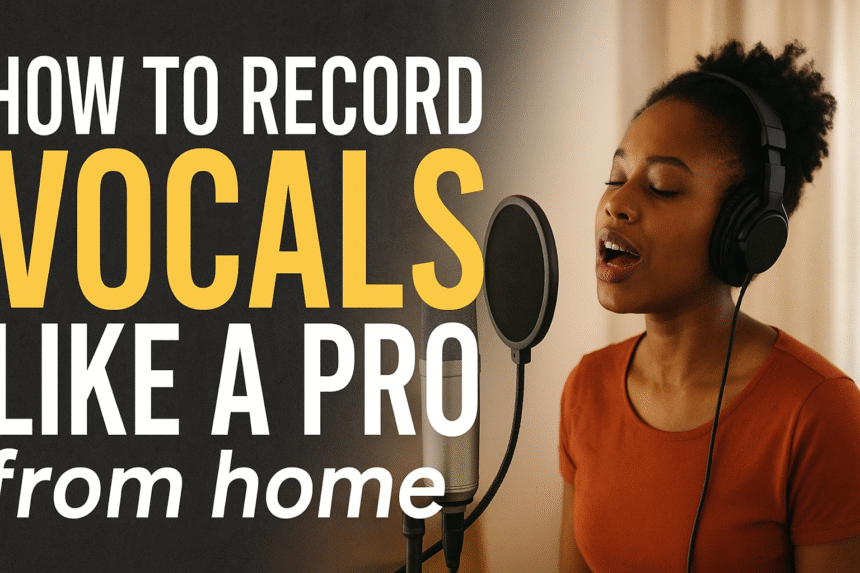
Recording professional-quality vocals doesn’t always require an expensive studio session. With the right tools, setup, and techniques, you can capture clean and polished vocals right from your bedroom or home studio. Here’s a step-by-step guide to help you sound like a pro without breaking the bank.
1. Set Up Your Recording Space
Your environment is just as important as your equipment. Choose a quiet room with minimal echo. You can reduce reverb by hanging thick curtains, using rugs, or even recording in a closet with clothes to absorb sound. The goal is to minimize unwanted background noise.
2. Invest in the Right Microphone
A good microphone is the heart of vocal recording. For beginners, a USB condenser mic like the Audio-Technica AT2020 or Rode NT-USB is a solid choice. For more advanced setups, an XLR condenser microphone paired with an audio interface provides even better sound quality.
3. Use a Pop Filter and Stand
Plosives (the hard “p” and “b” sounds) can ruin an otherwise clean recording. A pop filter placed in front of your mic reduces these unwanted bursts of air. Always mount your microphone on a stand—holding it by hand can cause noise and inconsistency.
4. Choose the Right Software (DAW)
A Digital Audio Workstation (DAW) is where your magic happens. Popular options include FL Studio, Logic Pro, Pro Tools, and free alternatives like Audacity or Cakewalk. Learn the basics of recording, trimming, and layering vocals.
5. Warm Up Your Voice
Your voice is your instrument—treat it like one. Do light vocal warm-ups, stay hydrated, and avoid cold drinks before recording. This helps improve pitch, clarity, and overall vocal performance.
6. Get the Levels Right
When recording, make sure your input levels aren’t too high (to avoid distortion) or too low (to avoid weak sound). A good rule is to keep your vocal levels peaking between -6dB and -3dB in your DAW.
7. Record Multiple Takes
Don’t settle for the first try. Record multiple takes so you can pick the best performance or even combine parts of different takes for a stronger final version.
8. Apply Light Editing & Effects
A little post-processing goes a long way. Apply EQ to cut muddiness, compression to control dynamics, and reverb for space. Don’t overdo it—clean and natural often sounds better than over-processed vocals.
9. Listen Critically and Improve
Always use headphones or studio monitors to playback your vocals. Compare your recordings to professional tracks in your genre and identify areas for improvement.
✨ With consistency, practice, and the right techniques, your home recordings can sound almost as good as studio productions. Remember: great vocals aren’t just about gear—they’re about preparation, performance, and passion.
CHECK THIS: The Artist’s Guide to Finding the Right Beat and Producer
source: kaknews.com


